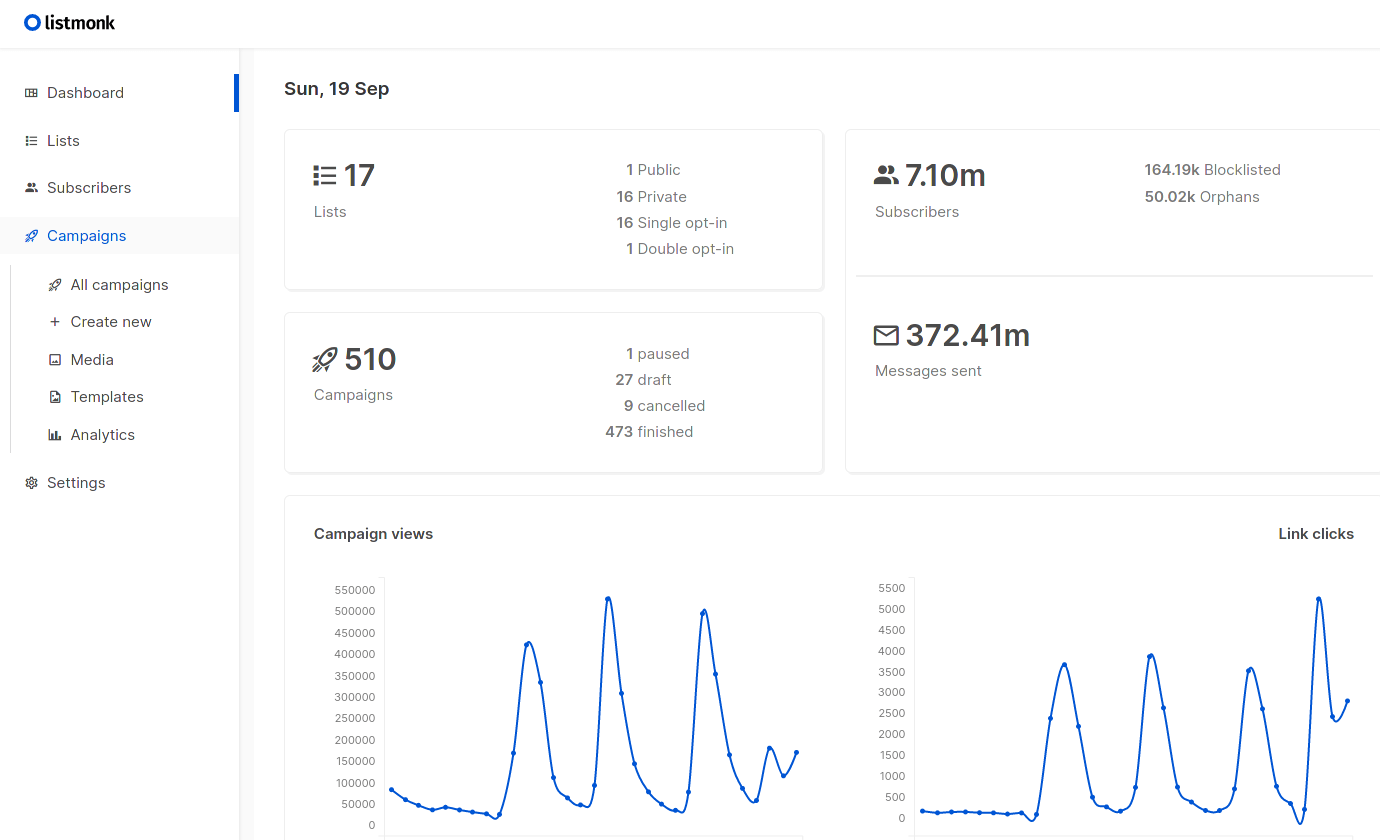
Installere (og oppgradere) Listmonk mailingliste-/mailkampanjesystem på unRAID
Thu 2024-03-07
Installere Listmonk på Unraid
Oppdatering 2025-05-12:
Det er ikke lenger nødvendig å legge inn brukernavn og passord for Basic auth i config.toml da utvikleren har byttet til et rollebasert autentiseringssystem. Hvis Listmonk ble satt opp før denne endringen kan man bruke samme brukernavn/passord for å logge inn, men nye installasjoner krever ikke dette. Jeg har derfor kommentert ut admin_username og admin_password i configfilen under.
- Installer Postgres hvis du ikke allerede har en instans kjørende. Jeg brukte det offisielle
postgresql15-imaget fra Community Apps. - Sett opp en rolle og en database. For å gjøre dette, logg inn på Postgres-databasen via din favorittklient (jeg liker MyWebSQL, men pgAdmin4 funket veldig bra til dette), og kjør:
CREATE USER listmonk WITH LOGIN PASSWORD 'SuperHemmeligDatabasePassord1234';


CREATE DATABASE listmonk OWNER listmonk; - Opprett en Listmonk-konfigurasjonsfil. Jeg opprettet
/mnt/user/appdata/listmonkmanuelt og la filen der, og kalte denconfig.toml.Det er en eksempelfil i listmonk-repoet. Du må endre følgende:- [app] address: Endre til
0.0.0.0:9000for å lytte på alle tilgjengelige nettverkskort slik at du kan aksessere WebUIet fra andre maskiner i nettverket. Dette inkluderer om du vil plassere Listmonk bak en reverse proxy. - [app] admin_username / admin_password: endre disse - dette er hvordan du logger inn i Listmonk.
- [db] host: Hvis Postgres-containeren og/eller Listmonk-containeren kjører i Bridge-modus og ikke Host networking-modus, må du endre denne til navnet eller IP-adressen til Postgres-containeren (typisk er dette unRAID-IP:5432)
- [db] password: sett dette til passordet du brukte for listmonk-brukeren på Postgres-serveren i steg 2. Hvis du allerede har glemt passordet (slik jeg gjorde), gå tilbake til steg 2, sett nytt passord og kopier så dette inn her.
- Komplett eksempelfil:
[app]
# Interface and port where the app will run its webserver.  The default value
# of localhost will only listen to connections from the current machine. To
# listen on all interfaces use '0.0.0.0'.
# To listen on the default web address port, use port 80
# (this will require running with elevated permissions).
address = "0.0.0.0:9000"

# BasicAuth authentication for the admin dashboard. This will eventually
# be replaced with a better multi-user, role-based authentication system.
# IMPORTANT: Leave both values empty to disable authentication on admin
# only where an external authentication is already setup.
#admin_username = "admin"
#admin_password = "SuperSecretPassword123"

# Database.
[db]
host = "192.168.0.35"
port = 5432
user = "listmonk"
password = "SuperSecretDBPassword456"

# Ensure that this database has been created in Postgres.
database = "listmonk"

ssl_mode = "disable"
max_open = 25
max_idle = 25
max_lifetime = "300s"

# Optional space separated Postgres DSN params.
# eg: "application_name=listmonk gssencmode=disable"
params = ""
- [app] address: Endre til
- Legg til en Listmonk-container. I Unraid, gå til Docker-fanen, scroll til bunnen av siden og klikk på "Add Container"-knappen. En minimal template vil se omtrent slik ut:
- Name: Listmonk
- Repository:
listmonk/listmonk:latest - Network Type: Bridge (eller vurder å bruke Host for å forenkle databaseoppsettet som over. Jeg bruker bridge og har ingen problemer med det)
- Legg til en Port med Name:
HTTPog Host Port:9000. Fyll så inn9000som verdi (eller en annen port du vil aksessere Listmonk på) - Legg til en Path med Name:
Configog Container Path:/listmonk/config.toml. Angi Host Path til der du plasserte Listmonk-konfigurasjonsfilen, f.eks./mnt/user/appdata/listmonk/config.toml.
- Start Listmonk-containeren og se den stoppe. Når du klikker "Apply" vil containeren starte, kjøre etpar sekunder, og deretter stoppe. Hvis du vil kan du se på loggen og se hva problemet er: Den må startes på en spesiell måte for å sette opp databasen. For å få gjort dette, spinner vi opp en ny Listmonk-container for dette formålet, og forkaster den etter bruk.
- Start Listmonk i “install”-modus. SSH inn på unRAID-serveren eller start en webterminal, og kjør følgende kommando:
docker run --rm -ti --net='host' -e TZ="CET" -v '/mnt/user/appdata/listmonk/config.toml':'/listmonk/config.toml':'rw' listmonk/listmonk:latest ./listmonk --install - Start Listmonk-containeren igjen. Denne gangen vil den fortsette å kjøre, og du vil kunne logge inn via webgrensesnittet på http://unraid-server-ip:9000/
Oppgradere Listmonk på unRAID
- Stopp Listmonk-containeren.
- Oppgrader Listmonk-containeren fra Docker-fanen.
- SSH inn på unRAID-serveren eller åpne en webterminal.
- Kjør kommandoen
docker run --rm -ti --net='host' -e TZ="CET" -v '/mnt/user/appdata/listmonk/config.toml':'/listmonk/config.toml':'rw' listmonk/listmonk:latest ./listmonk --upgrade - Følg instruksene gitt fra containeren.
- Start Listmonk-containeren igjen fra Docker-fanen.
- Logg inn i Listmonk for å sjekke at alt fungerer som det skal, og foreta eventuelle oppdateringer/endringer presentert i webUIet.
VIKTIG: Før du begynner å bruke Listmonk, sjekk og dobbeltsjekk at du har satt opp SPF og DKIM riktig for domenet du skal bruke som avsender for nyhetsbrev/kampanjer for å unngå å bli stemplet som spammer. Bruk mxtoolbox.com og alle andre mulige verktøy du kan for å sikre at du ikke havner på svartelister.
Hvis du har satt opp Auto-update applications i unRAID er det viktig å ekskludere listmonk fra autooppdatering siden det vil føre til problemer med oppgradering. Oppgradering må gjøres manuelt frem til utvikleren av listmonk sier noe annet.